UserEcho + Zapier - integrate applications you use every day
Despite the fact that we have had integration with Zapier for a long time not all our customers are aware of it and know opportunities that this integration provides. Most recently we've audited and updated the integration. So, we would like to tell you a little more about it.
Zapier is an integration hub that helps people to set up communication between different applications and services. It's very powerful and convenient tool for those who need to connect several services together. The service grows rapidly and already has more than 2,000 integrated applications. You have an opportunity to integrate those applications in virtually any combination.
To integrate UserEcho with an application you use just find UserEcho in the list of applications (or just follow the link) and create a Zap - configured integration between applications.
An example of integration between UserEcho and GoogleSheets
We will give an example of how to add an entry to your "Google Sheets" document every time when you get a new ticket in some Helpdesk section.
The first thing you need to do is go to Zapier.com and create an account. It’s easier to log in with your existing Google or Facebook account. Or you can use your email if you want to register without social networks.
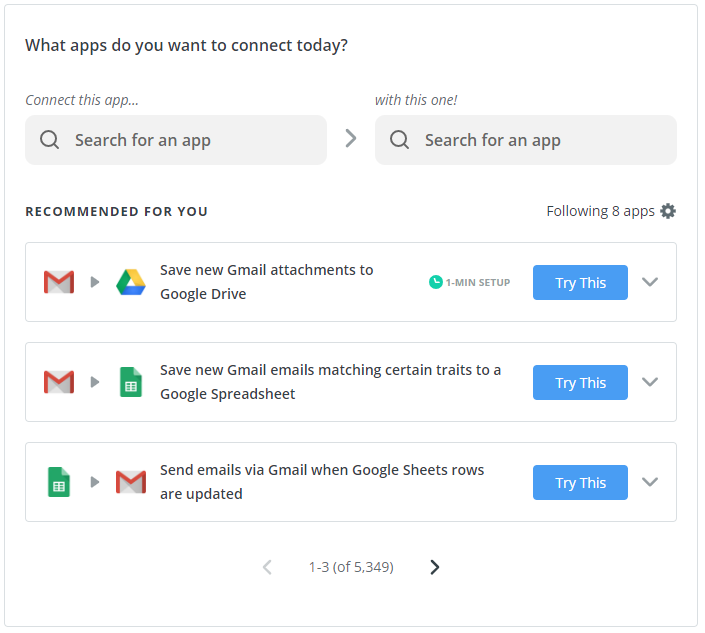
Next you will see a screen invites you to create a Zap.
In the first field we search and select "UserEcho" and in the second field "Google Sheets". Then you will see two new fields. In the "When this happens ..." fields select "New Topic". And in the field "Then do this!" select "Create Spreadsheet Row".
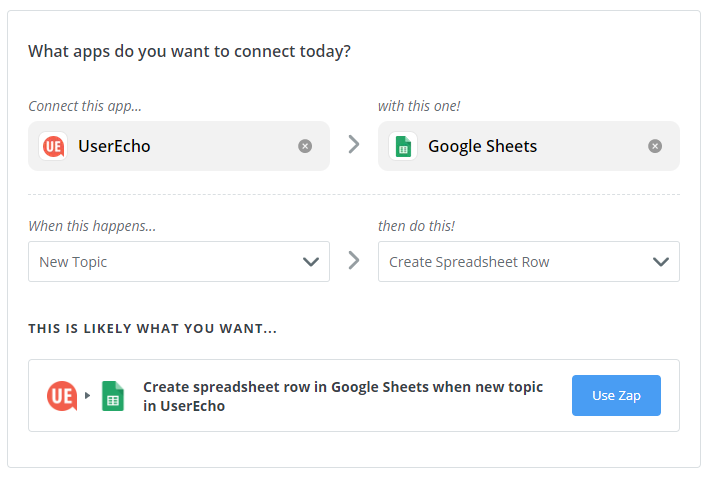
The system creates a Zap and suggests to use it. Click on "Use Zap" and begin configuration.
UserEcho
The first step is to select the UserEcho account which you are integrating. If the account has not yet been created select "Add new account" in the drop-down list and you will be redirected to the UserEcho page where you will be prompted to enter an alias for your project. Next, you will need to log into UserEcho with your account if you doesn't have a session yet. Confirm that you allow Zapier access to your UserEcho account. When account is selected Zapier pulls up the data of your project and only thing you have to do is select a forum to follow by Zapier. UserEcho setup is ready! Next step is set up "Google Sheets".
Google sheets
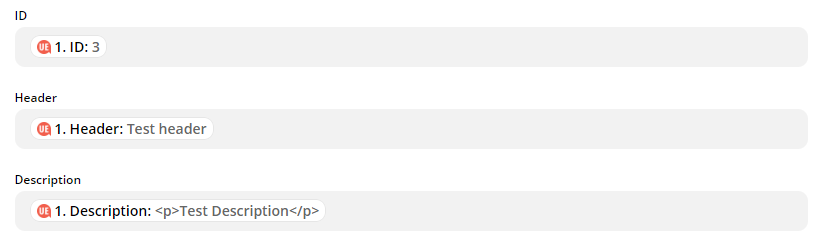
Same way as you jist did to UserEcho you give access to your "Google Docs" account and select "Google Sheets" document where your records will be added to. It is better to have such document already prepared in you account and have columns added in to the first row of the document! Next, Zapier reads columns and displays them to you. You just need to map UserEcho ticket data into those columns of your document.
Everything is ready!
After the test you only need to enable configured Zap and from now you will see new entries in your file for each new ticket in UserEcho! In similar way you can configure UserEcho integration with more than 2,000 different applications.
We are always in touch! If you need any help with integration feel free to contact us at our Support portal or email us to support@userecho.com
